
This is a re-post of a Blog I did for work, which is posted on the IMAGINiT Building Solutions Blog here.
In residential architecture, as well as other types, it is often a required part of the working drawing set to be able to show the roof overhang as a hidden line on the floor plan views. Out of the box, Revit doesn’t do this because Revit shows it as it’s built. Some may call this WYSIWYG or, what you see is what you get. Meaning that in the real world we don’t see a dashed lines on the ground so we know there is a roof above. To get Revit to do this there is a simple work around that I have outlined below.

3D View of Roof
- Begin by opening the plan view in which you want to see the roof line (overhang) as a hidden line.
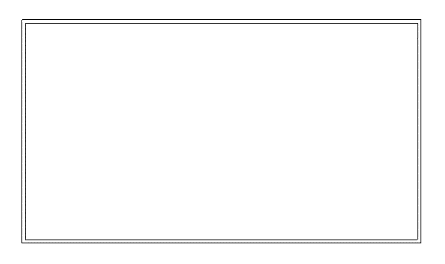
1st Floor – No Overhang
- In the properties dialog box for the view you want to see the overhang lines in set the Underlay drop-down to be the level on which the roof was created.
- Now the next step is to select the Linework tool from the Modify Tab > View Panel>. Then select the Line Style you want to represent the roof overhang in the view.

- Now click on the lines of the roof overhang you wish to be visible (this will change their line style).
- Return to the properties dialog box and change the underlay to “None”.
- Your roof overhang is now visible in your chosen plan view in the line style you which. It is also worth knowing that these new lines will also move or adjust with your roof if the overhang moves during the course of the project.
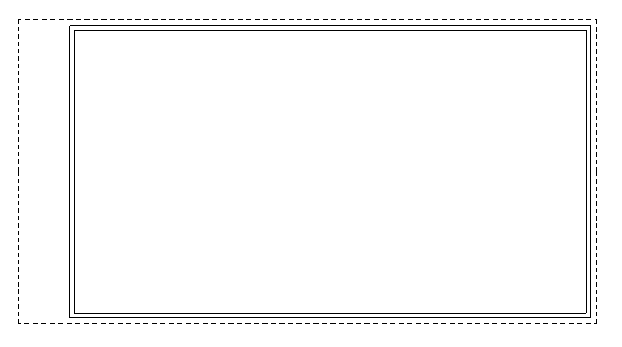
1st Floor With Overhang
![]()
Twitter @theBIMsider
Facebook: theBIMsider

I have a roof created but i want to have the roof overhang show on my floor plan and can’t figure it out. Do i have to draw lines?
LikeLike
You need to make sure that the level that you have your roof created on is selected as your underlay for the plan view in which you want to see the roof outline. Once this is done you should be able to see the roof outline.
LikeLike